

So here's most of the kit to build a simple manual boost controller for your turbocharged car. The only thing missing is the thread tap that I had to buy in order to install the control knob...but that's a little like saying that I'm missing the hack saw and wrenches I used to build it, right?


I briefly considered shooting a video to show how to build this boost controller, then decided that doing so would be ridiculous considering I watched a video that already exists to build mine! I did slightly modify Justin Sane's design and spent a tiny bit more in order to have what I consider a cleaner look and easier adjustment. I used a knob instead of an allen wrench head machine screw. It cost maybe Four extra bucks.


So, you can pretty much see all the various bits and pieces you'll need to purchase and all of these parts are really cheap. Matter of fact, I think the knob I chose to go with was the most expensive part. I'm not sure that the spring I went with will be the spring I leave in there. It may be too stiff. I won't know until I install this and see how well it works. I get the feeling that the stiffer the spring, the tighter the adjustment window will be - ie, tight spring = 1/8 turn for One additional pound of boost, versus light spring = 1/2 turn for One additional pound of boost. Dunno for sure. We'll see.

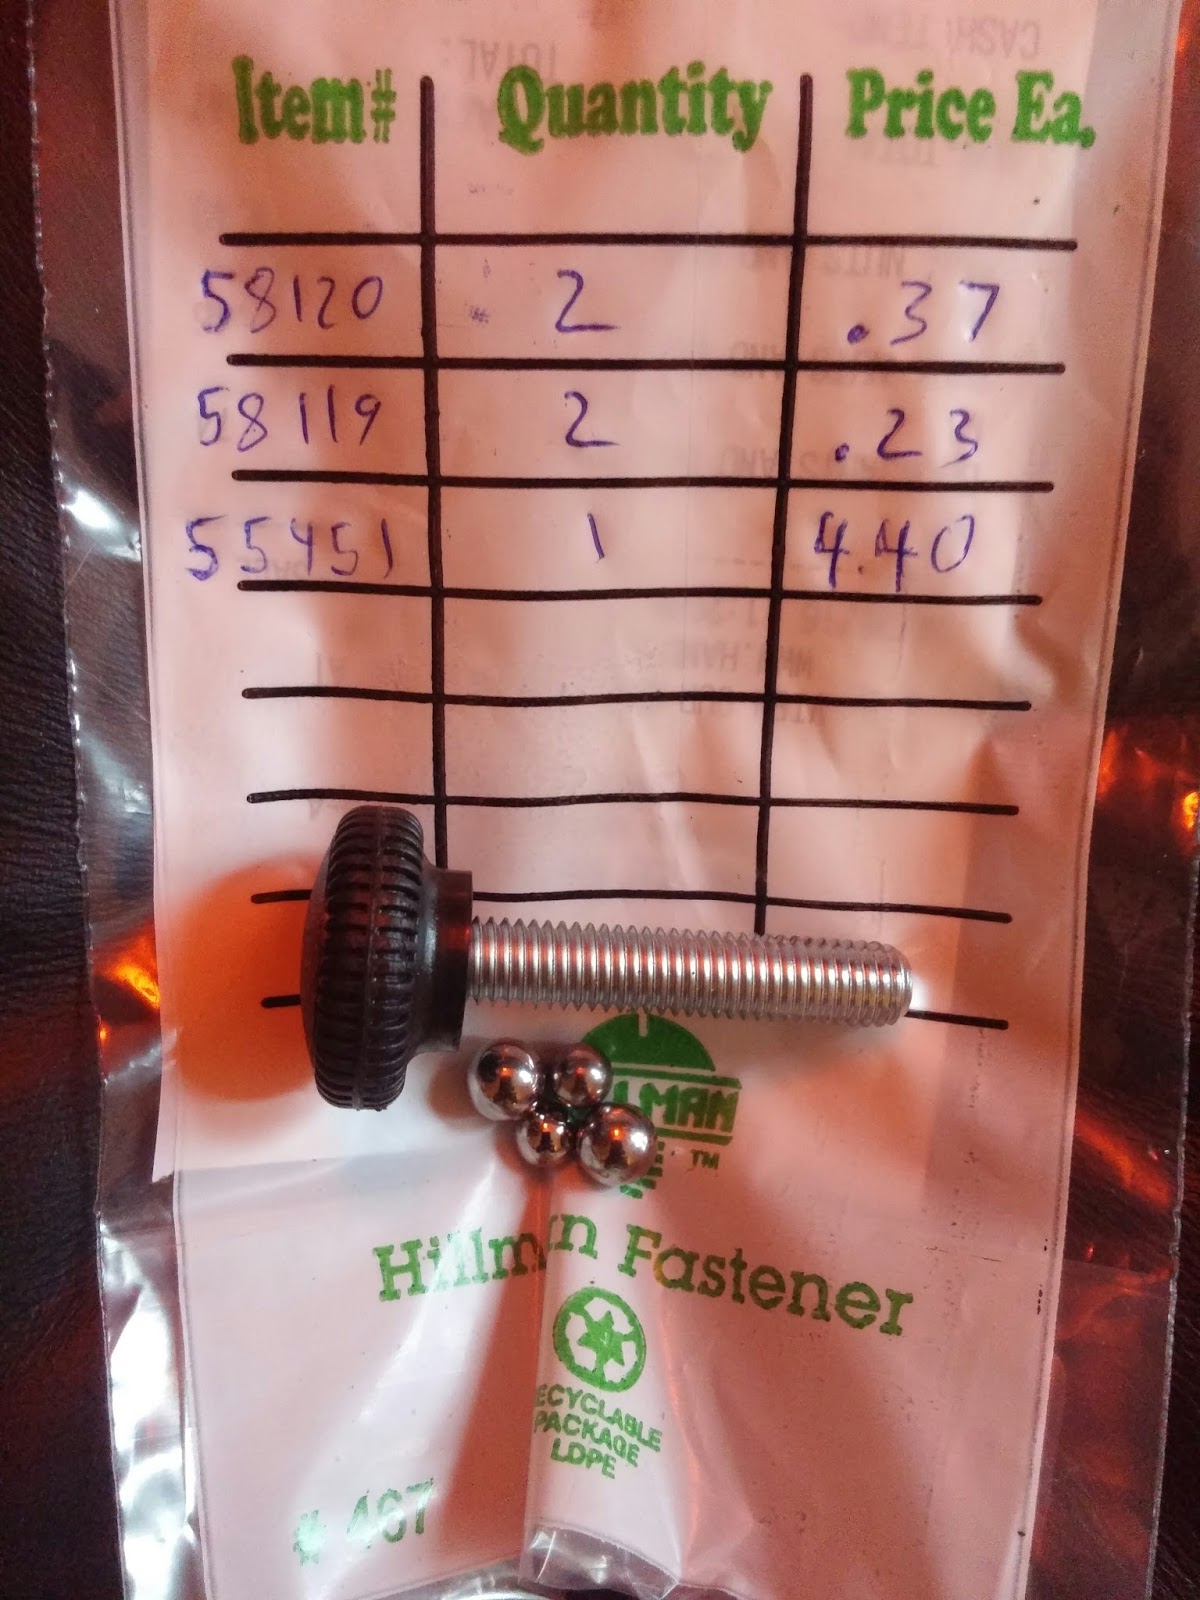
Also note: multiple ball bearing. I wasn't sure which size would work better AND I thought I might go with a ball bearing on top and bottom of the spring...so that's why you see Four ball bearings. I only used One of the smaller ones. So check out the great video provided by Justin Sane. He does a great job of explaining how to build one of these.
So when you're all done you should have something like this below! Alas, you Really Should NOT install a boost controller (and I will not) until you have a REAL boost gauge installed. The stock Eclipse "boost gauge" isn't really a boost gauge at all. I've heard of it referred to as more of a "load gauge" and this is useless for our purposes. So we'll need to install a genuine boost gauge first...and we will, shortly! Then we'll start twiddling that knob and see what kind of trouble we can get in to. Stay tuned!

No comments:
Post a Comment